Breaking News
Main Menu
Create A Linux Bootable Usb Drive For Mac
воскресенье 27 января admin 62
If you've ever wiped your computer without having a proper backup of your operating system, or just wanted to, chances are you've had to rely on Linux to help you out, specifically the distro. Verifying install for mac os z. Mirror for samsung tv mac app. Ubuntu doesn't get a lot of love compared to powerhouses like and, but those who do use it are often fans for life.
It is currently the most popular Linux distribution and has a dedicated community that's actively working to make it smoother, faster, and more secure. Since it's based off of Linux, it has the ability to boot on pretty much anything, from a USB drive to. While it's pretty impressive that a can handle an entire operating system, it won't help you get your computer up and running. In this guide, I'm going to show you how to create a USB drive that contains all of the necessary files to boot your Windows PC or Mac into Ubuntu. To create this bootable USB drive, also known as a live USB, you will need access to a USB drive with at least 2 GB of storage and a functioning computer, but it does not matter if it is a Mac or Windows. In addition, you will also need a copy of the latest version of Ubuntu, which can be downloaded from.
Select 'Linux Mint,' then follow the installer's prompts: it will ask you to identify the USB drive where it should install Linux Mint, and to point the installer to the Mint 'ISO' file. After the installer completes, the USB drive will contain a bootable copy of Linux Mint.
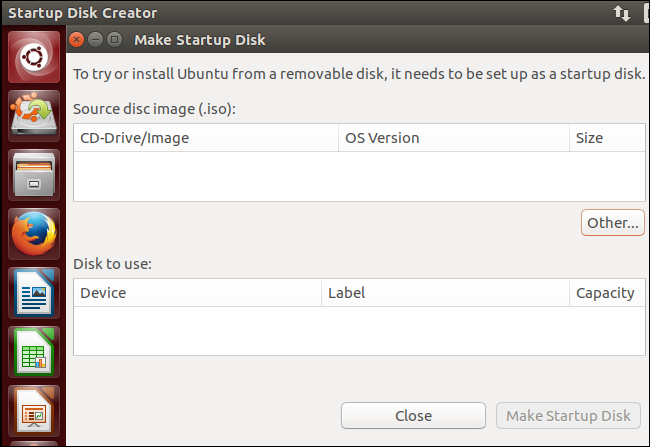
Installation for Windows Users If you have access to a Windows machine, the process of creating a live USB is extremely easy. All you have to do is download the from. When it's done, you can boot directly into Ubuntu by selecting the USB drive from your Boot Devices.
The way to access the the Boot Devices menu varies between manufacturers, but it can usually be accessed by pressing one of the F keys right after powering on your computer. Once you select your live USB disk and your system boots up, choose the option to 'Try Ubuntu Without Installing' and wait for the operating system to start. Installation for Mac Users Unfortunately, Mac OS X does not have a tool like Universal USB Installer to create a live USB, but as a Mac user, you should be used to that feeling by now and know that it isn't a big deal.
Instead of using a traditional app, we will use. You should now see a list of all the drives attached to your Mac. Look for your USB drive and take note of the number after /dev/disk. If you are unsure which disk is associated with USB drive, you can unplug your drive, enter the previous command, plug your USB drive back in, enter the command one more time, and then compare the two outputs to find your USB drive's node Once you have that node number, you can use it to flash the the.img file with the following commands.
Be sure to replace the # symbols with your node number and run each command separately. When it asks for you admin password, make sure to enter it and continue on. Also, make sure to replace 'Desktop' if your.img file is somewhere else. Diskutil unmountDisk /dev/disk# sudo dd if=Desktop/Ubuntu.img of=/dev/rdisk# bs=1m diskutil eject /dev/disk#.
I bought a Macbook Air yesterday after Dell lost my laptop from their service centre last month. And among the first few things I did was to dual boot Mac OS X with Ubuntu Linux. I’ll cover up Linux installation on Macbook in later articles as first we need to learn how to create a bootable Ubuntu USB drive for Mac in OS X. While it is fairly easy to create a bootable USB in Ubuntu or in Windows, it is not the same story in Mac OS X. This is why the official Ubuntu guide suggest to use a disk rather than USB for live Ubuntu in Mac. Considering my Macbook Air neither has a CD drive nor do I possess a DVD, I preferred to create a live USB in Mac OS X. Create a Bootable Ubuntu USB Drive in Mac OS X As I said earlier, creating a bootable USB in Mac OS X is a tricky procedure, be it for Ubuntu or any other bootable OS.
But don’t worry, following all the steps carefully will have you going. Let’s see what you need to for a bootable USB: Step 1: Format the USB drive Apple is known for defining its own standards and no surprises that Mac OS X has its own file system type known as Mac OS Extended. So the first thing you would need to do is to format your USB drive in Mac OS Extended format. To format the USB drive, plug in the USB key. Go to Disk Utility program from Launchpad (A rocket symboled icon in the bottom plank). • In Disk Utility, from the left hand pane, select the USB drive to format. • Click the Partition tab in the right side pane.
• From the drop-down menu, select 1 Partition. • Name this drive anything you desire. • Next, change the Format to Mac OS Extended (Journaled) The screenshot below should help you. There is one last thing to do before we go with formatting the USB. Click the Options button in the right side pane and make sure that the partition scheme is GUID Partition Table. When all is set to go, just hit the Apply button. It will give you a warning message about formatting the USB drive.