Breaking News
Main Menu
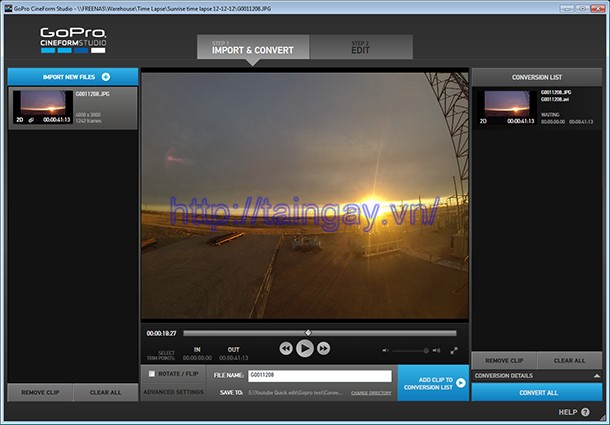
Time Lapse Software For Mac
четверг 11 октября admin 69
The latest version of Time-Lapse is 1.1 on Mac Informer. Mac task scheduler. It is a perfect match for the Design & Photo category. The app is developed by Microprojects. Apr 9, 2013 - Hello all, I want to get into Timelapse and I would like to know what's the best software to use it once you have all your stills. I know you can create timelapse with Adobe After Effects, Premiere and even.
By Jul 17,2018 19:53 pm Time-lapse is a known technique used in photography to lower frequency of capture as compared to viewing of the sequence. From a casual view, it looks complicated but this article will simplify such complexities for your understanding. When this technique is used in photography to make time-lapse video in iMovie, time seems to be fast moving thus leading to a lapse. Time-lapse has been used severally in crowded shooting like traffic where an impression of motion is created from nowhere.
Don’t confuse that to be black magic; it is time-lapse technique well in use. We will show you how to make time lapse video easily. • • Best iMovie Alternative to Make Time-Lapse Video - Filmora Video Editor is one of the effective and highly preferred software programs for making video with all kinds of feature. It should be your best iMovie alternative for Mac (macOS 10.13 High Sierra included) if you are keen on makeing time-lapse video. It has some outstanding features that make Filmora Video Editor a force to reckon with in the industry. There are assorted editing tools to use, it performs color correction through adjusting contrast and brightness and there are animated templates as well as faceoff which are good for making time lapse video without hassle. How to Make Time-lapse in iMovie If you want to have your still pictures changed into a movie or video, it will consume very little time and it is all because of iMovie.
This technique has been designed in a very unique way such that it takes limited time to accomplish the task. In this part, you will learn about how to make time-lapse in iMovie. The initial step will be filming the subject of your project by using the time-lapse setting right in your camera or manually. The manual process is a bit tedious because you will be required to drive the shutter button for some time in a span of one minute repeatedly. The choice will be all yours to make but ensure the camera is firm enough on the tripod to cushion it from falling off. The next step will be importing the shot video to the iMovie.
The camera should be connected to the Mac using a USB cable or even card reader since that option is provided. Make sure the video is saved to the timeline where you can access it easily. See the detailed step-by-step guide on how to make time-lapse in iMovie Step 1. Open the iMovie and add your movie project It will now be the moment to kick start your project through clicking on the “applications” folder and then launch iMovie. On the lower side of the project library, you will see the (+) button which you will click to allow you add the project name, set a suitable theme and click “create” to have the project created. Naturally, iMovie settings are automatic but you must have to change that so that you have the full control of the proceedings. Go to “file”, click on the “project properties” icon and set the duration for transition as per your preference.
This step is important but not mandatory because it will allow you to have time-lapse video assume your own preferences for total satisfaction. Start to make time-lapse The next step will be adding your time-lapse video to the timeline through dragging. Once there, you will be able to make more editing just to make your time-lapse video more appealing and interesting. Music is the common addition at this stage and you can add by clicking on the “music” button located below the viewer.
When it is highlighted, drag the song to the library and it will add automatically. Finally, export your fully edited video clip through hitting the “share” button on the top side. You can choose either to export it as a movie or have it published in the online video sharing sites.