Breaking News
Main Menu
Minecraft Server Start For Mac
среда 07 ноября admin 72
Awesome tutorial for installing a Minecraft server on Mac. I am reading a book to apply Python to Minecraft. The book is called by Craig Richardson. This blog post was inspired by the procedure explained on the book. Starting the server Used for reference.
Don't start here: • Right click > Open the file Start_Server • Open Minecraft • Play > drop down > 1.11.2 • Multiplayer • Select pycraft-server. Setup a Mac environment Start here.
Download the Minecraft launcher to start your adventure! Explore, build and survive! Download Download Minecraft for your PC or Mac. Create, explore and survive! Realms Own an always-online Minecraft world. Invite nice people to join! Set up your own server for Minecraft at home. Takes a little time, but totally worth it! Add A Server. Add Minecraft servers for every platform, including Minecraft servers for PC/Mac, Xbox One edition Minecraft servers, Xbox 360 edition Minecraft servers, PS4 Minecraft edition servers, PS3 edition Minecraft servers and Minecraft Pocket Edition servers.
We need to install 5 components: • Minecraft • Python3 • JDK • Minecraft Python API • Spigot Minecraft Server Minecraft You need to get an account and buy Minecraft. Installing is really easy.
Open the program and login. Go to Single Player > Kodi builds for mac ios. Create New World. I called it pycraft. Python 3 There are a lot of tutorials about this.
I haven't used the Mac for a long time so I had some issues. This is what I did.
No Java runtime present Go to: Click the button: Java Download. It's just a square and it is easy to miss.

Scroll down and choose the radio button to accept the license. Then download the dmg for macOS.
Follow the GUI install process. Install the API Here is a summary of the process from the book: • • Download setup files for MAC: • Download • The file downloaded is: Minecraft_Tools_Mac.zip. • Extract the content: Minecraft Tools Mac.
This folder has these: • Directory: py3minepi-master • Directory: server • File: Start_Server • File: Install_API.command Install the API by running this file: Install_API.command. This opens the terminal and might ask for the admin password. If this doesn't work. Go to the terminal and locate the file.
The directory '/Users/tomordonez/Library/Caches/pip/http' or its parent directory is not owned by the current user and the cache has been disabled. Please check the permissions and owner of that directory. If executing pip with sudo, you may want sudo's -H flag. The directory '/Users/tomordonez/Library/Caches/pip' or its parent directory is not owned by the current user and caching wheels has been disabled. Check the permissions and owner of that directory. If executing pip with sudo, you may want sudo's -H flag. Processing./py3minepi-master Installing collected packages: py3minepi Running setup.py install for py3minepi.
Done Successfully installed py3minepi-0.0.1 I tried this. /Users/tomordonez/Documents/minecraft-python/Minecraft_Tools_Mac/ server/start.command; exit; $/Users/tomordonez/Documents/minecraft-python/Minecraft_Tools_Mac/ server/start.command; exit; Java HotSpot(TM) 64-Bit Server VM warning: Ignoring option MaxPermSize; support was removed in 8.0 --- Error, this build is outdated --- --- Please download a new build as per instructions from --- --- Server will start in 15 seconds --- Loading libraries, please wait. Starting minecraft server version 1.11.2 Launch Minecraft. Go to Menu > Launch Options > Add New. Enter a name.
I entered: pycraft. Select the version: 1.11.2. Save and close the Launch Options. Click the logo to go to the main screen. Go to PLAY, drop down now has the option: pycraft 1.11.2. It will start downloading this version.
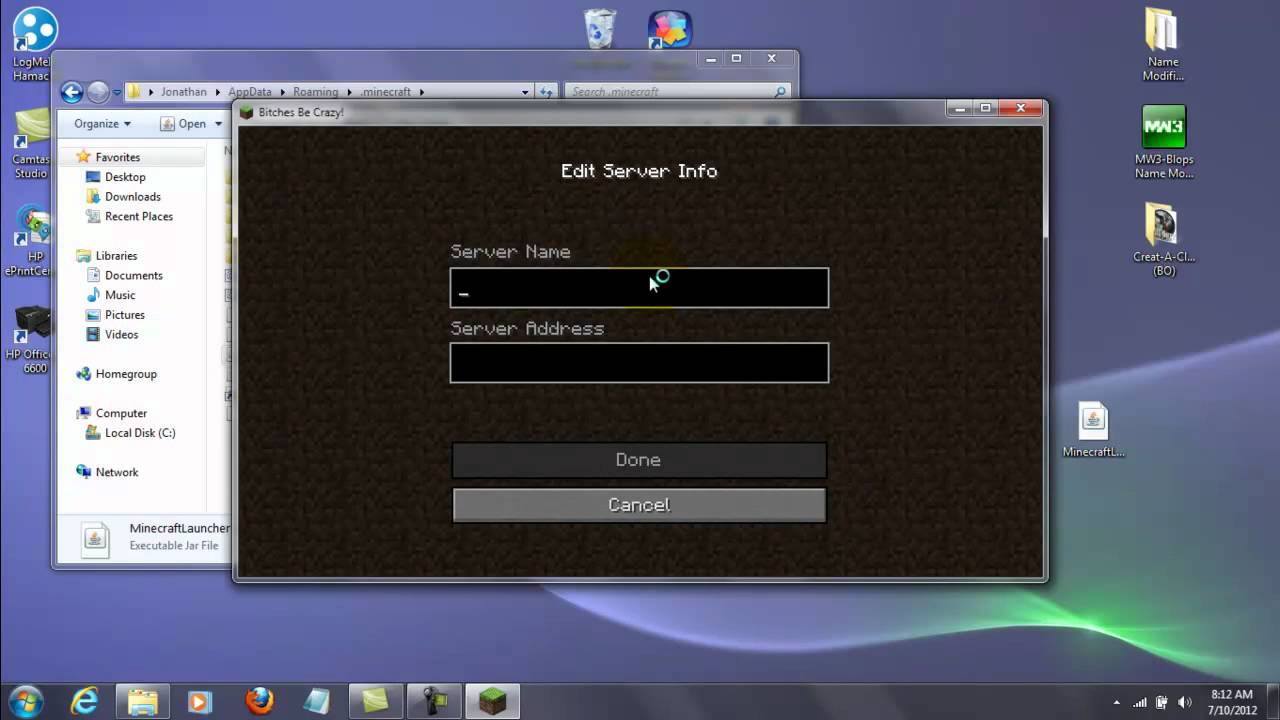
Add the server to Minecraft When Minecraft opens. Go to Multiplayer. Then Add Server.
For server name I put: pycraft-server. For server address: localhost. The added server will show up. Click on it and Join Server. Minecraft will launch the world. The server output shows.